

We all love beautiful cakes. We want them smooth and well, just perfect. Especially when it comes to weddings and little ones’ birthdays. As a mom, I know this all too well. You want a gorgeous cake to have photos of to show your children when they are older. To say “Hey look, I was a pretty awesome mom getting you this cake!” Except you need usually need fondant to do it – and most people do not like the taste of fondant. So you are stuck letting everyone pull off the fondant pieces themselves, or trying to pull them off before serving it. It gets messy and I know I don’t want to deal with that.

My sister-in-law makes AMAZING cakes. She is very talented and has made all our cakes since we moved up here. For my oldest’s 3rd birthday, my husband and I decided to try to make some marshmallow fondant for her to use for the finishing touches on the cake. I am so glad we did. It was really easy and came out amazing! No one minded chomping on the fondant pieces. Success! I am going to tell you how to make the Perfect Marshmallow Fondant in a few simple steps.

What You Need:
- 16 oz of Marshmallows
- 2 lbs Powdered Sugar
- 1/4 cup of Shortening
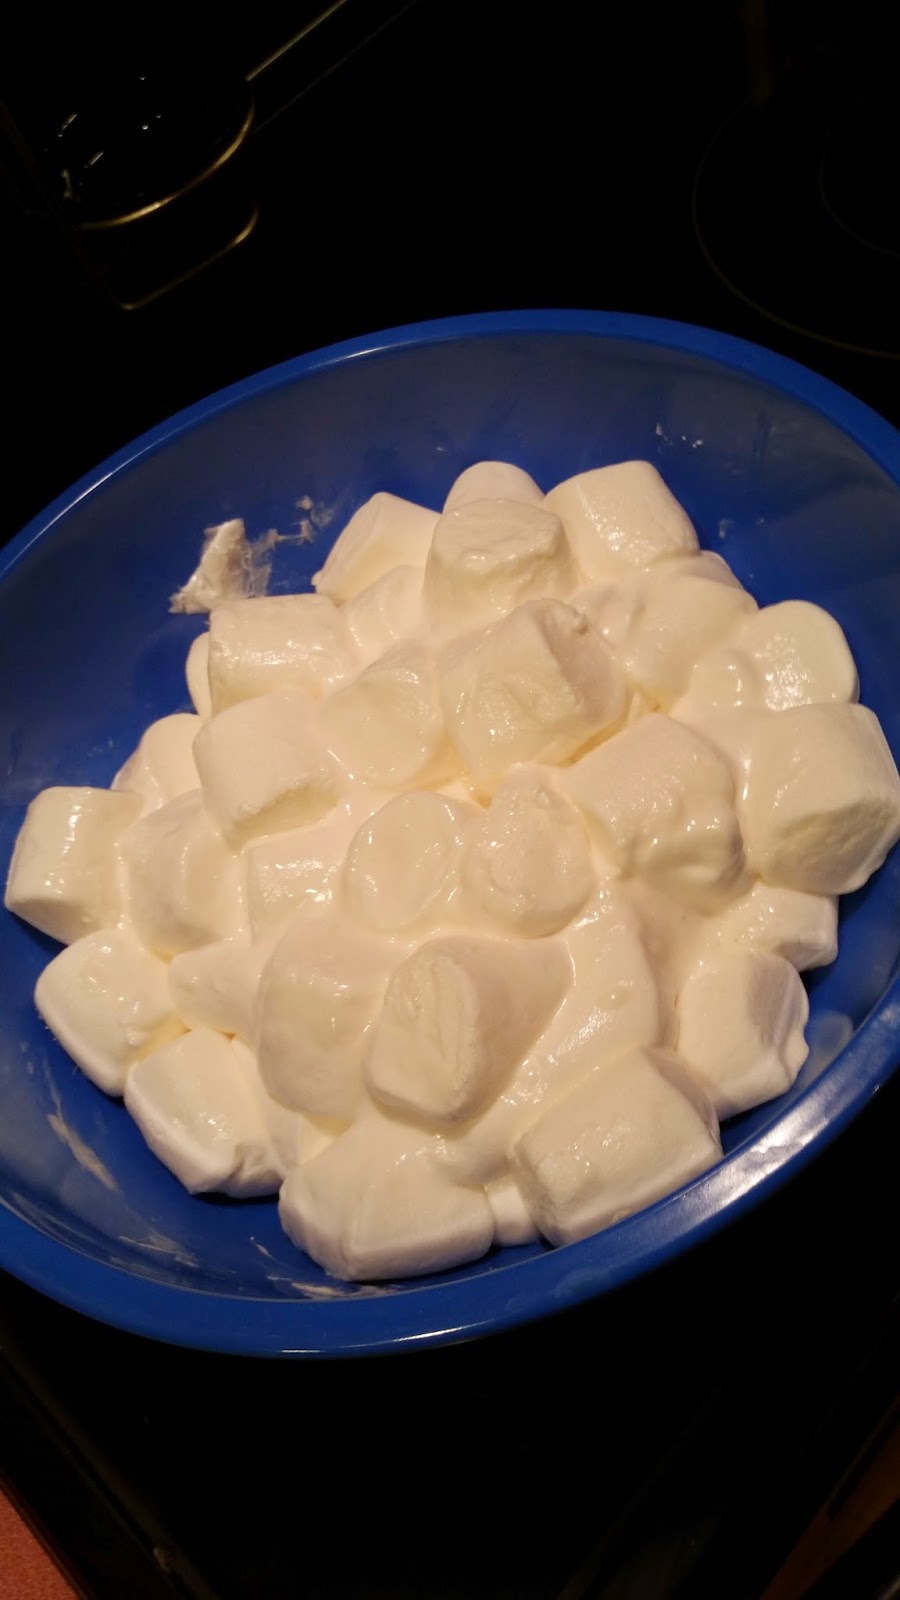
Step 1: Melt the marshmallows in the microwave.
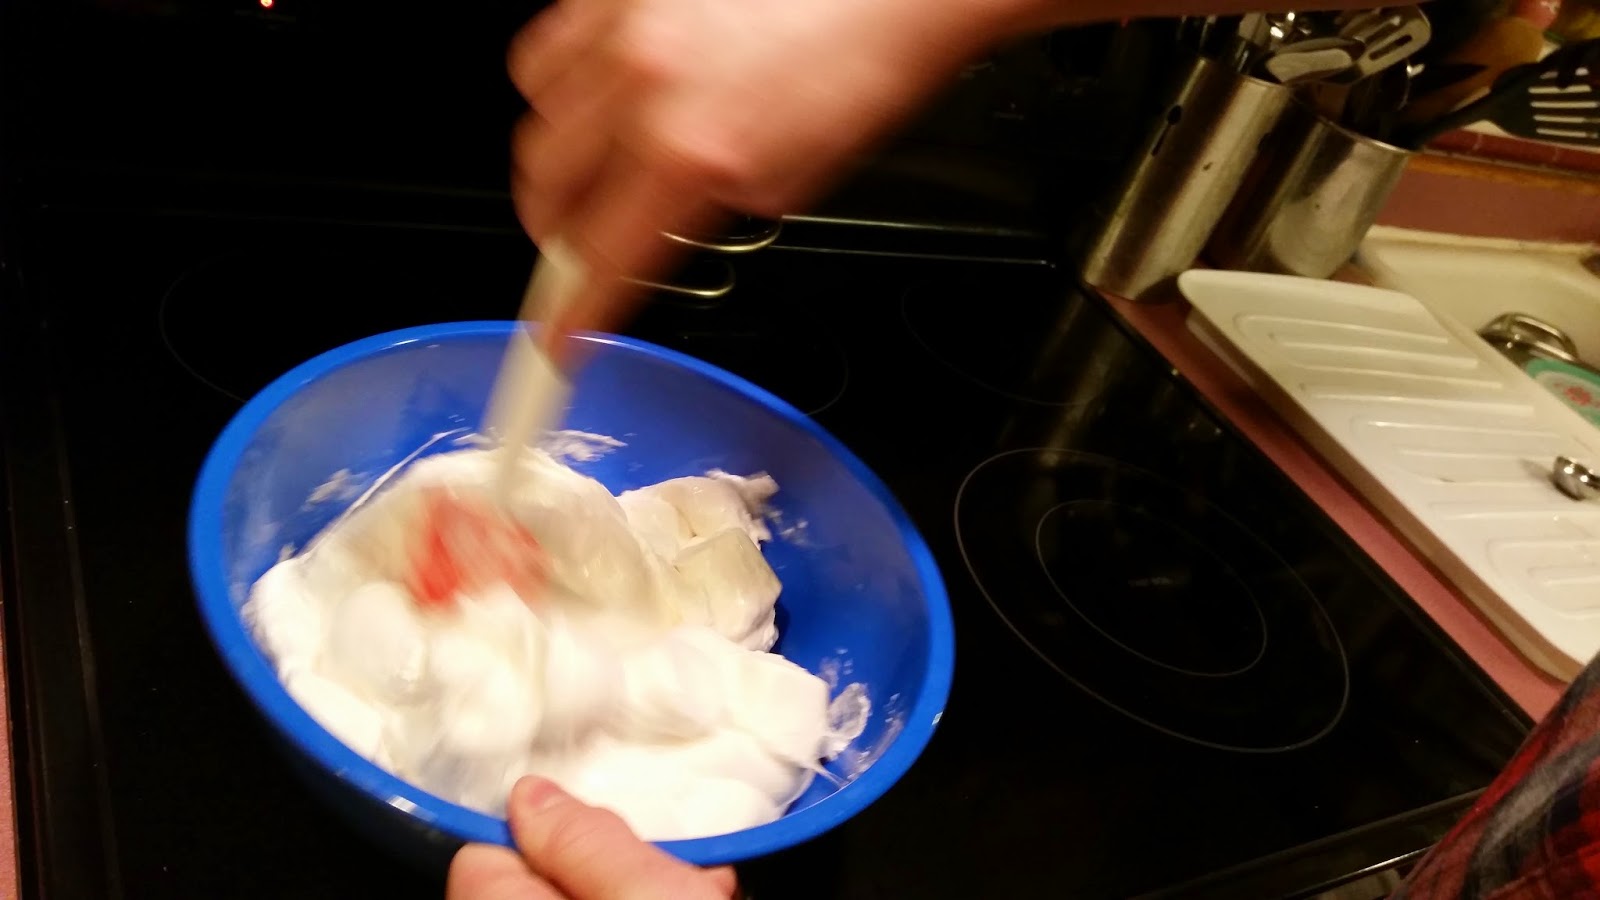
Step 2: Pour about half the powdered sugar in the melted marshmallows and mix in with a greased spatula.

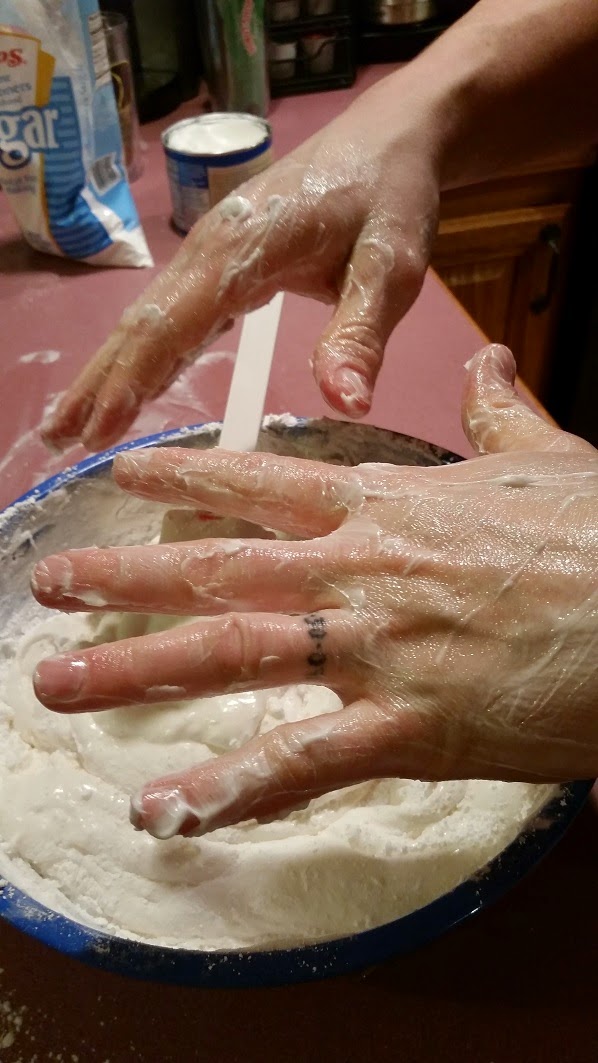
Step 3: Grease the countertop and your hands with shortening.
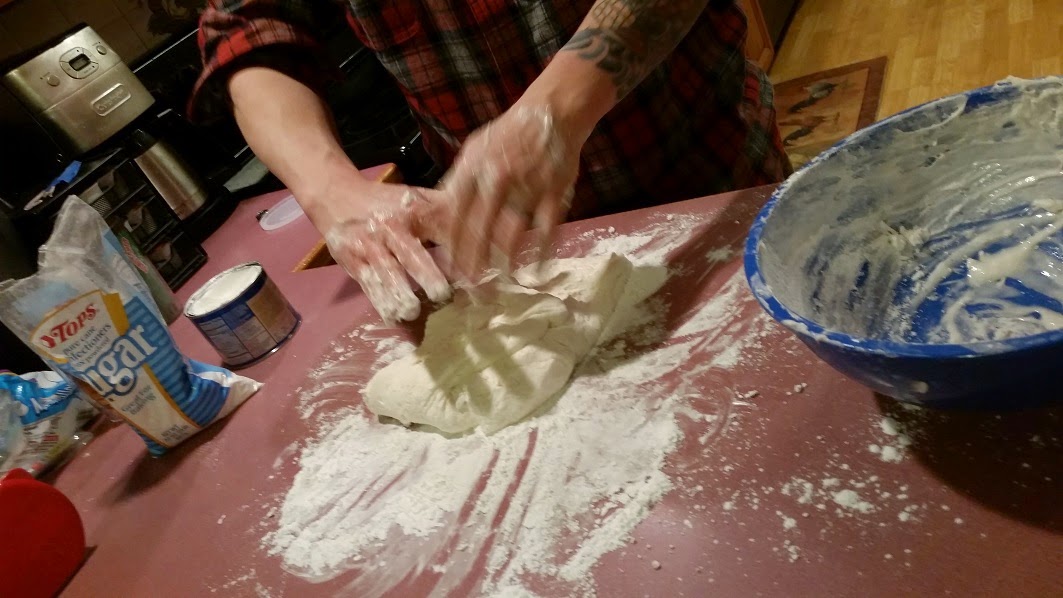

Step 4: Knead the mixture while adding the remaining powdered sugar. If it starts to tear rather than stretch, add a tsp of water and continue mixing.
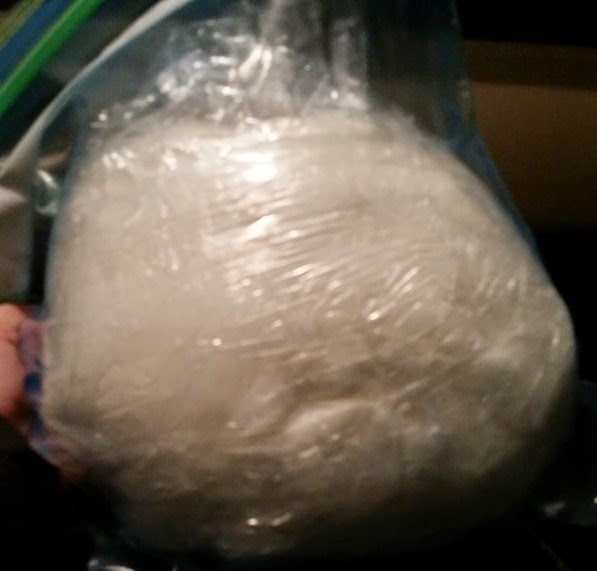
Step 5: Once fully mixed, your fondant is ready to be rolled out and used. Or it can be stored in the fridge for a few weeks. If storing, grease it and bag it.

Cook Time: 0 minutes
How to Make Perfect Marshmallow Fondant

Super easy marshmallow fondant.
- 16 oz of Marshmallows
- 2 lbs Powdered Sugar
- 1/4 cup of Shortening
- Step 1: Melt the marshmallows in the microwave.
- Step 2: Pour about half the powdered sugar in the melted marshmallows and mix in with a greased spatula.
- Step 3: Grease the countertop and your hands with shortening.
- Step 4: Knead the mixture while adding the remaining powdered sugar. If it starts to tear rather than stretch, add a tsp of water and continue mixing.
- Step 5: Once fully mixed, your fondant is ready to be rolled out and used. Or it can be stored in the fridge for a few weeks. If storing, grease it and bag it.
Super easy fondant that actually tastes good!
